
How to Make a Moodboard for Your Home Renovation
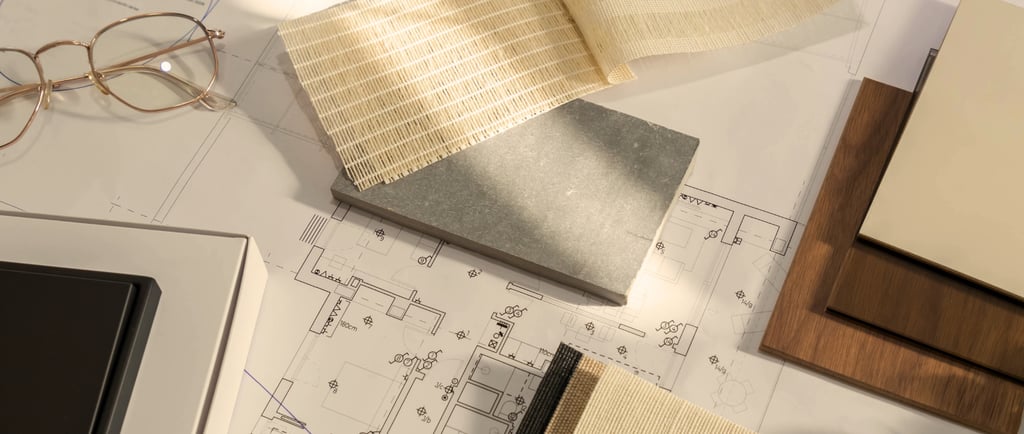
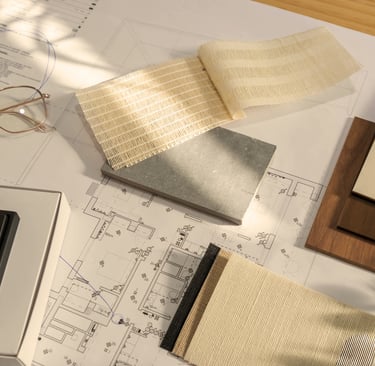
After we bought our house and aligned on the new layout of the floors, we were overwhelmed with what was next. Which finishes? What was our color tones? Would one room flow to the next? Did we bite off more than we could chew? Did we need to hire a interior designer to take the lead? Since we are so conscious of every dollar, I was determined that we could handle this on our own (with some help from our contractor). I knew that we couldn't pick everything out right away but I did know we needed a general vision per room that we could look at together and see the house as a whole. That’s where moodboards come in. A moodboard helps to see your ideas — all in one place — so you can design with confidence and stay focused when the renovation chaos begins. Here’s how to make one (even if you’re not a designer).
10/23/2025
Step 1: Choose Your Vision (Start with a Feeling)
Before diving into Pinterest, take a breath and think about how you want the space to feel.
Do you want it to feel cozy and warm? Light and airy? Bold and modern?
Write down 3–4 words that describe your goal — like calm, cozy, lived-in or bright, open, timeless.
Those words will help guide every choice you make.
Step 2: Gather Inspiration (But Keep It Curated)
Now comes the fun part — collecting ideas.
Pinterest, Instagram, magazines, or even photos from places you’ve visited are great sources.
Save images that make you pause — the ones that capture the vibe, not just the stuff. A photo of a linen curtain or a soft paint color can be just as valuable as a full room shot.
Try not to save everything you see — stick to the images that make your heart say “yes.”
Step 3: Pick a Platform
You can create a mood board anywhere — the key is finding what feels easy for you.
For me, I had a Pinterest board that was shared with my husband so we could both pin and reference our ideas and then I built my mood boards on Canva.
It is my go-to platform to drag, drop, resize, arrange and then be able to print and see it all together.
Step 4: Choose Your House Paint Palette
This should help set the tone for when you start with everything per rooms. You can reference this palette of 6-8 colors to pull from. Using this as a guiding light will help keep everything cohesive in a easy way that won't overwhelm you.
You can find these palettes on Pinterest, google or even just going into a paint store like Benjamin Moore to get inspiration.
Step 5: Build Your Board
Divide your Canva project so you have one page per room. Add a room title and add 2-3 words per room of how you want to feel. Then start general, adding in pictures or pieces of:
Wall colors or textures
Flooring or tile inspiration
Furniture silhouettes
Light fixtures
Accent details (pillows, art, greenery, etc.)
Then, begin to arrange them until it feels balanced. Keep your color tones consistent and leave a little breathing room.
Step 5: Refine Your Vision
Once you’ve got everything laid out, step back and look for patterns.
You might notice you’re drawn to warm wood tones or matte black accents, or that all your spaces feel calm and neutral. That’s your signature style peeking through.
Remove anything that feels off. A good mood board isn’t about more — it’s about clarity.
Step 6: Use It as Your Guide
Once your mood board feels right, use it throughout your project.
When you’re shopping or choosing finishes, pull it up and ask, “Does this fit my board?”
It’ll save you from impulse buys and mid-reno panic moments.
Bonus Tip: Keep a digital version on your phone — perfect for those spontaneous hardware-store runs.
🤎
Your mood board isn’t just a collage — it’s a calm starting point for what’s to come.
It keeps your vision grounded when the renovation dust, decisions, and overwhelm start to creep in.
So take the time to make it, sip your coffee, and trust your instincts.
You already know your style — the mood board just helps you see it.